This is a big one for me... So, needless to say, I'm a bit intimidated. I'm going to fake complete confidence that this is going to come out fantastic! Yes!
Even though, I'm still unsure of how I plan on finishing it. Yet, I'm hopeful it will be completed by this weekend.
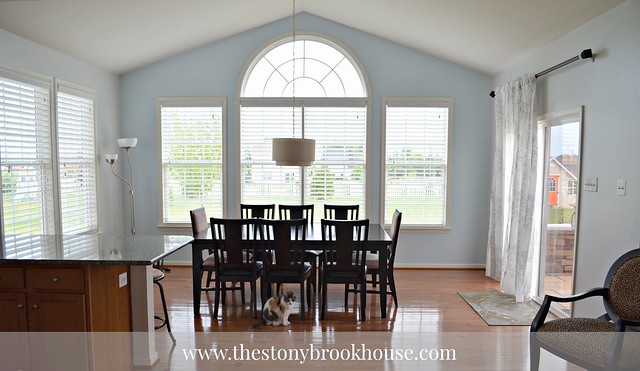
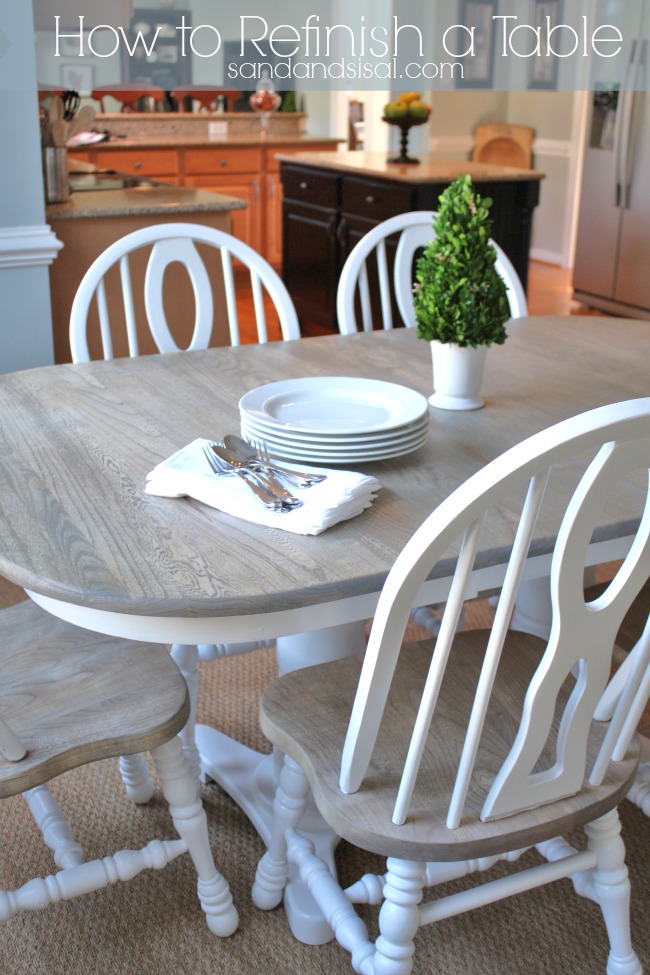
Here is how the room looks with the dining table before.
Yeah, it doesn't look so bad, but I'm imagining something very different. Plus Hubby and I are going for a completely new look and the dark wood is definitely out. I did a post awhile back when we renovated the Powder Room and I explained how to determine the style and feel you want your house to look like. You can check out ours
HERE.Here is another reason I'm re doing it.
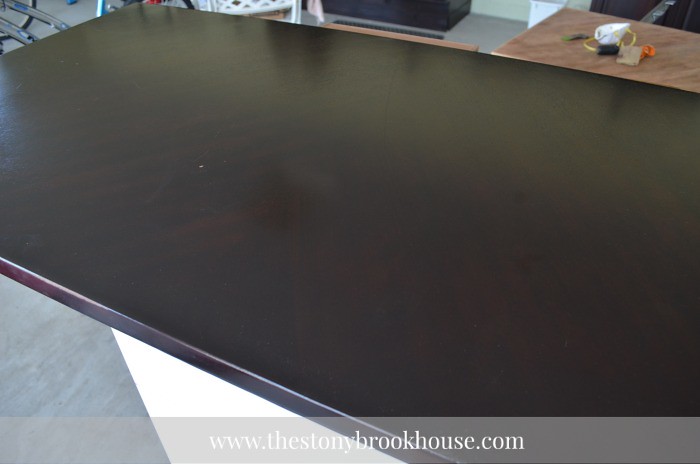
Rings, scratches and nicks are all over it. Some parts of the table look fine. It's not even that old, maybe 4-5 years?
We most likely paid too much for this table. Yes, we bought it new. It was before my DIY blogging days. But Hubby and I really like the size of it. It fits 8 very comfortably and we can even squeeze in 10.
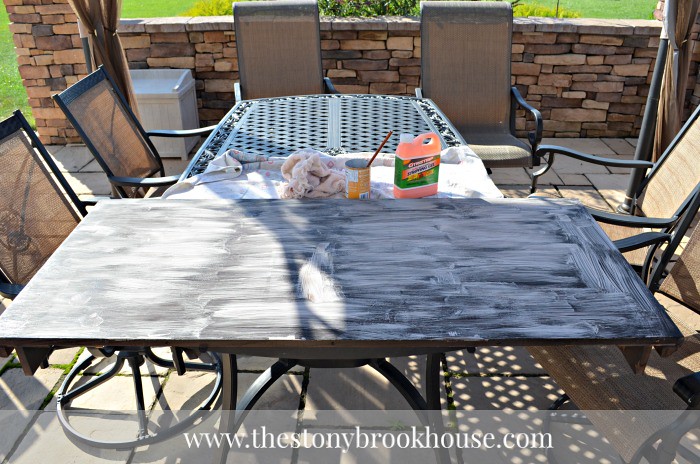
I wasn't sure if we wanted to re-stain it or paint it or what, so I started off by using a chemical stripper to get the stain and varnish off.
After it dried and I tried using a spatula scraper. That didn't seem to work, so I went for the razor blade. That seemed to do the trick.
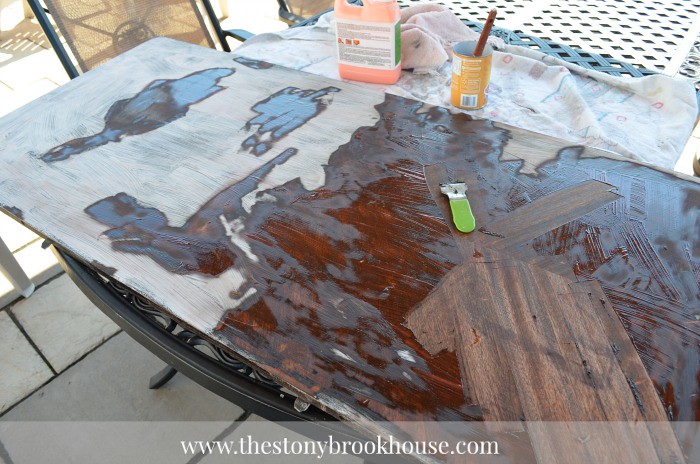
The white is the dried part, then I brushed more on the right side and started scraping that. It was a long process but eventually, with some sanding, I was able to get it to this point.
Now, I can hear you all now... Oh, that wood looks cool. I even thought that, hubby did and even my daughter. But...When you look closely, the quality of this "wood" table is cheap. That "cool wood" is a very thin wood veneer and if I sand too much, I'm down to the "particle" board. Nice right? NOT! Plus the stain is still in a lot of the grain and it just wasn't going to come out like this...
Gorgeous... Love it, but it's not going to work for this table. Oh well. I've got something in mind and I really hope it comes out!
After the first coat of primer was dry, I sanded it all down. Now I'm ready to put on the 2nd coat. I used an oil based, stain blocking primer by Zinsser. It went on really smooth and nice. So, this is where I'm at right now.
Next, I need to figure out how I'm going to paint the table. Should I use my paint sprayer? Should I use a water based enamel? Should I use the latex paint I already have? Should I brush it on? Use a foam roller? Ugh! I need to do some more reading and figure this thing out.
Blessings,


I am sure it will be beautiful! We had so many "new" pieces of furniture in the old house, but once I started reading blogs, it made me realize just how "cheap" the new stuff is. I've replaced most of it with vintage stuff that solid as a rock - let's just say, my husband (initially) was not happy about that! LOL!
ReplyDeleteI know this is after the fact, but I found that NOT letting the citrustrip dry is the key. I put a good coat of it on, then cover it with plastic bags. I just cut them up the sides and use them that way. It keeps the stripper wet, and also seems to make it work faster. Just pick up the plastic as you go along.
Wow! You are right, I noticed the same thing, but didn't even think of the plastic bag thing! GREAT tip! Thanks! I know what you mean... But now I feel like I have a good solid dining table! So far so good, it really seems to be holding up!
Delete