

I had my doubts whether I should share this today, but I wrote it a couple of days ago and I simply couldn't wait one more day to share my beautiful table. Was redoing my dining table worth it? Not a shadow of doubt! One of the best things I could have done! I have to say the only words that could express how I feel... I LOVE IT!!!!
Let me take you back to where I left you, a couple of weeks ago. Yes, it took me that long to complete! We were in the priming stage.
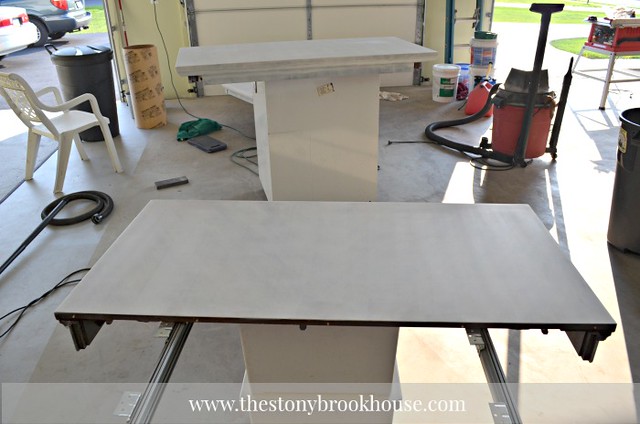
Before I get going here, if you want to see how I got to this stage and see all the glorious chemical stripping, then click HERE.
I used my paint sprayer and put on two light coats. Then I brought it in. I wasn't too happy with the results. You could see the spray lines for each pass I made. No, I didn't take pictures.... So, I decided to take a try at rolling it. I even added Floetrol.

But this is what it looked like after the first coat.... I was having serious doubts!
I left the picture a bit darker so you could see what I'm talking about! Really? This "Floetrol" was supposed to work magic! No roller or brush marks.... Well, that's not what I was getting! Ugh! I thought I put enough in. Well. Let's try coat number 2 and see what happens. It got a bit better and I saw that I needed to be generous with the paint and roll in one direction.
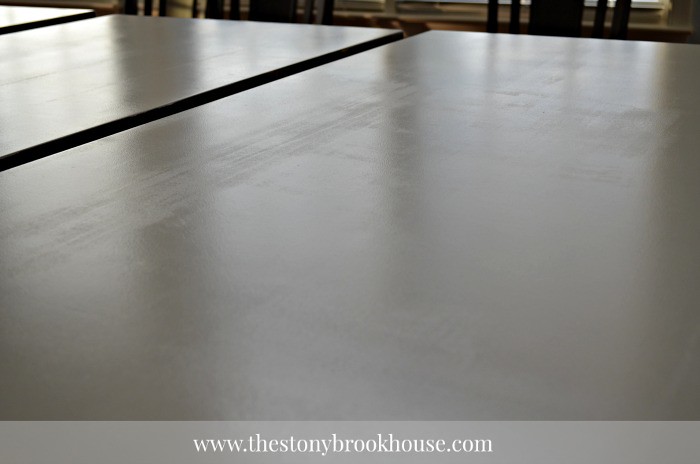
That seemed to be the ticket. By the 3rd coat this is what it looked like.
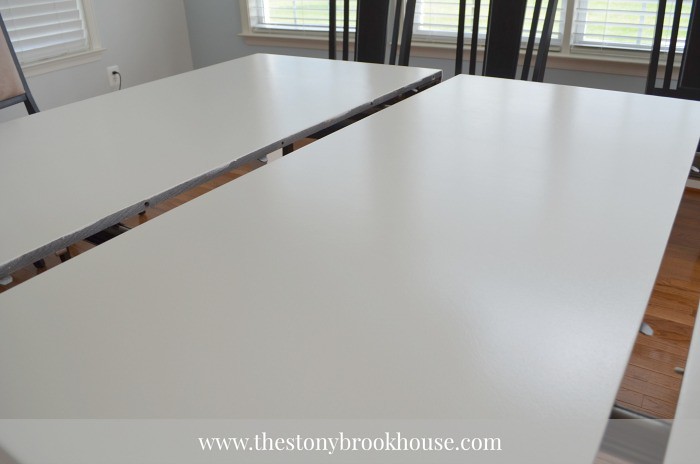
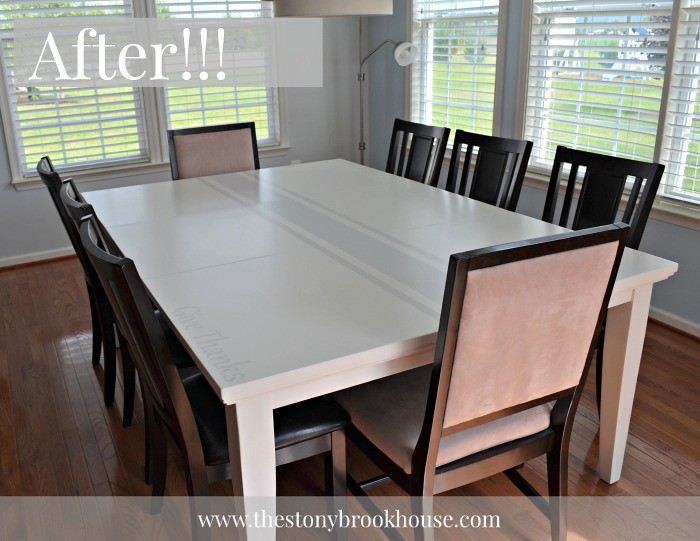
Look at that smoothness. Using a foam roller does leave a bit of an orange peely look, but I think it turned out really smooth and even. Also, I didn't feel confident enough to brush the whole table surface. I really really didn't want brush strokes. So, it was finished and then it sat and sat. Yes, I was curing it. But it really didn't need a whole week to cure. I just couldn't figure out what I wanted to put on the table top. Plain ole white was not going to be enough for me. Here were some ideas we were tossing around.

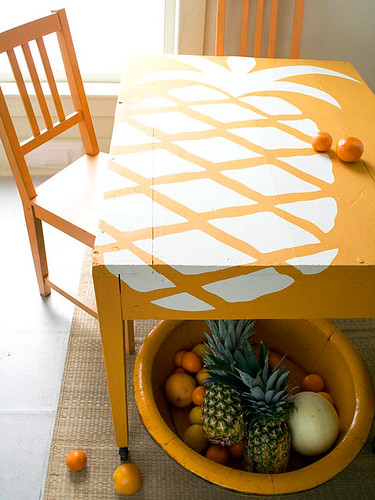
Unfortunately, the only source I could find was for the pineapple table. Anyway, we didn't go with any of these ideas. I even came up with a few of my own.


The first two I began to think were too big and too much. As much as I LOVE orange, it would have been too overwhelming on the dining table. We did a bit of the last one.
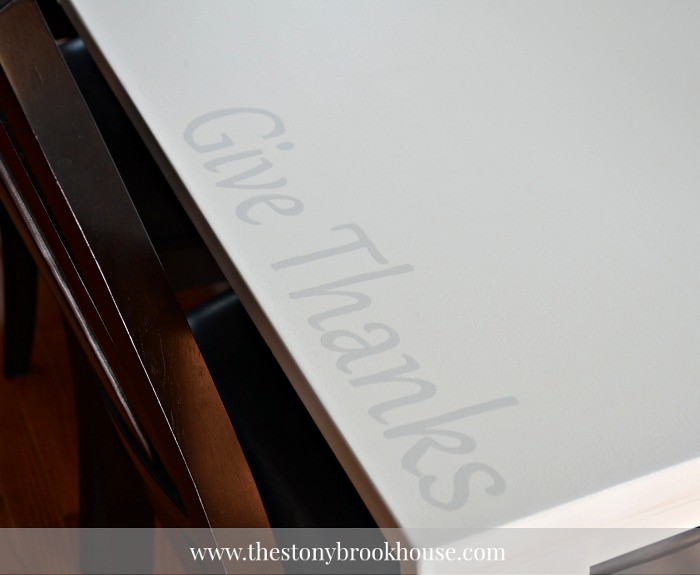
Hubby picked the font and I did all the painting. We put Give Thanks in two of the corners. I felt that was just perfect for the table. It's where we give thanks for our food each meal. I did a simple pencil transfer and hand painted it in.
After that was done, it felt like it needed more. So, hubby and I decided to do the stripes down the center.
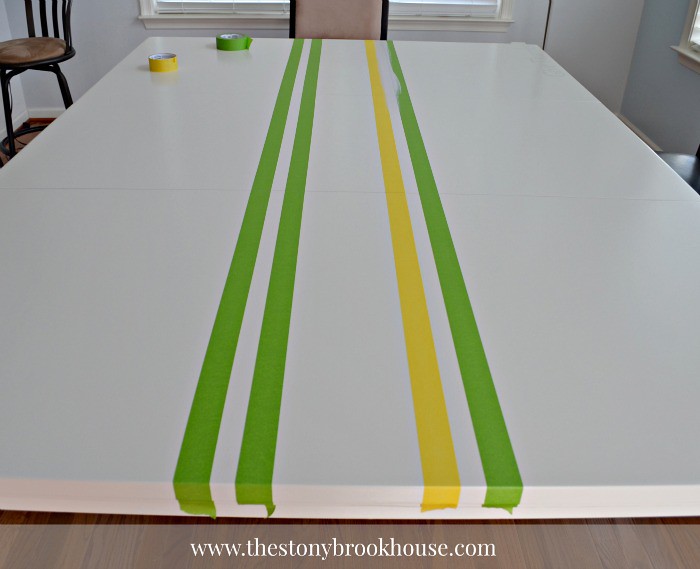
He helped me tape them off and I was off painting.
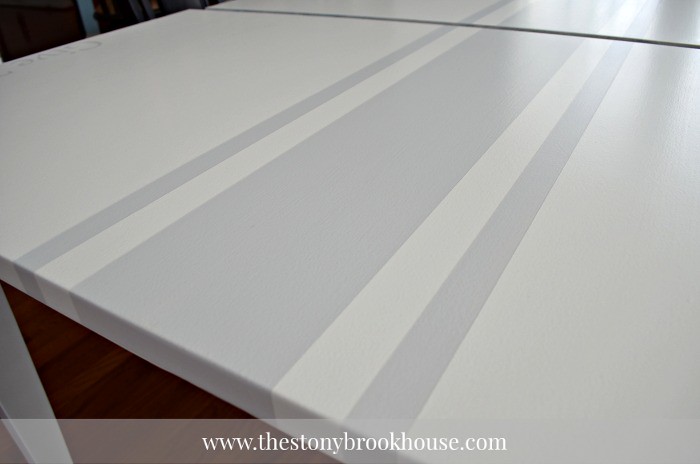
Oh my! Perfect Stripes! It was exactly what the table needed. I finished it off with 3 coats of Minwax Polycrylic. What a beauty!!
Let's take a look at a before and after....

Wow! Yes, I need to do the chairs still but what a huge difference! In fact, I've already started them! Plus looking at fabric to update the seat cushions. In the end, yes, it was a lot of work. But come on look at the results! It was sooo worth it! Well, I'm off to paint! :)
Update! You can check out how the chairs came out HERE! It's amazing!!!
Blessings,

What a wonderful job you did Lori. Looks beautiful.
ReplyDeleteThanks so much, Leanne!! I'm so please with how it all turned out! Thanks for reading and stopping by!
DeleteLove it, Lori! I have a dining room table I am going to paint, but I have to do the chairs first.
ReplyDeleteThank, Kirby! I understand... I almost put the chairs off. But Hubby helped me buckled down and attack them! :)
DeleteIt looks great!!
ReplyDeleteHi Sara! Thanks so much! I'm so glad I did it!! Thanks also for reading and stopping by!
DeleteYour table looks GREAT! It truly is one of a kind with your special touches. It lightens up the room so much and will be a real conversation piece when the folks from your church come over. All of your hard work was worth it!
ReplyDeleteThanks! You always cheer me up! I am truly happy with how it all came out! I can't wait til we have people over!
DeleteI bought my chairs at Wood U and got them at a great price. Had to paint and varnish but it was worth it. Love what you did with the kitchen.
DeleteThanks so much! It's amazing what you can do with a paintbrush! I feel it's always worth it! Thanks for stopping by!
DeleteWhat I like about covering the chairs is you can do it every season if you want. Just turn them over and start stapling. I do my a lot.
ReplyDeleteThat's so true! Only problem with me... I'd probably be too lazy and end up with Christmas in summer. hahaha! :/ Thanks for stopping by!!
Delete