
So, if I can do it, YOU can too!!

We are almost done with our church bathroom. If you want to see how far we've come you can check out these posts:
1980s Pepto Pink Bathroom Beginnings
Easy Faux Granite Countertop
Cabinet Update
How To Frame A Mirror w/o Miter Cuts
Flooring Complete
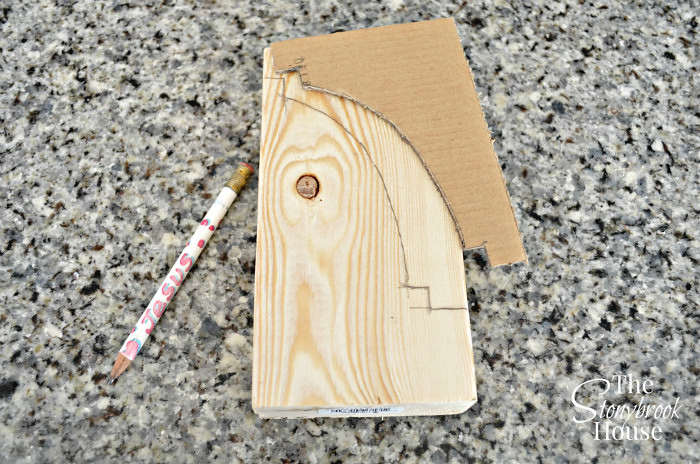
So, the first thing you need to decide is the design or shape of your corbel. I wanted something simple, but classic. I worked up a few ideas on paper til I found the one I liked.

Next, trace the pattern onto a piece of cardboard and cut it out.

That will make it more sturdy when you trace it on wood.
I used just some scrap 2X4s I had left over from another project. The size of the corbel is determined by how big your shelves are. Mine are only about 6 inches deep and they aren't going to hold anything heavy, so 3 1/2" will be just fine.
It will be easier to cut out the shape on the bandsaw without the excess wood, so I cut it off with my chop saw.

Then I cut some more off...

We only have a bandsaw, it was given to us for free... so I'm not complaining. Although it would be nice to have a jigsaw and it probably would've been easier and better... (hint, hint... :D)
First, I cut the corner out.

Nice!

Now comes the tough part....

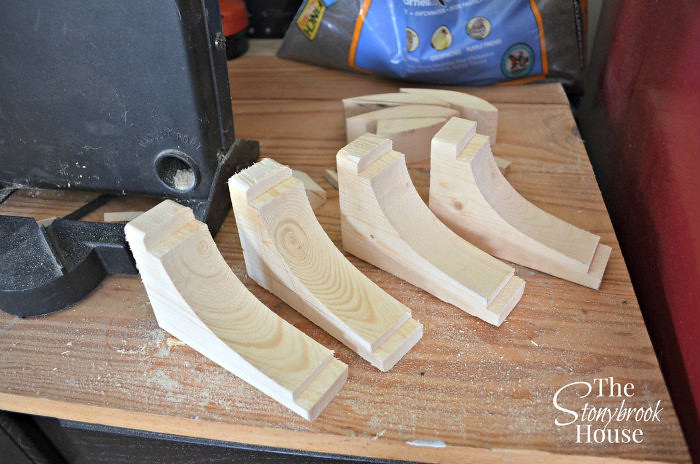
I tried cutting it out in sections, but that just came out choppy... see the difference?

You probably won't be able to tell much, but because I was using a band saw and basically pushing it through, it bends the saw blade, so the cut isn't even. That's fine, the curve came out pretty good!
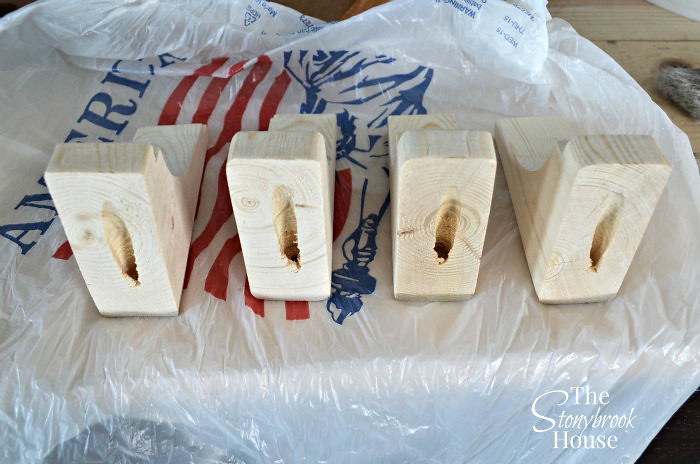
Now I need to drill a Kreg Jig hole in the top of each corbel to attach it to the wall. I had to get a bit creative with clamping it down.

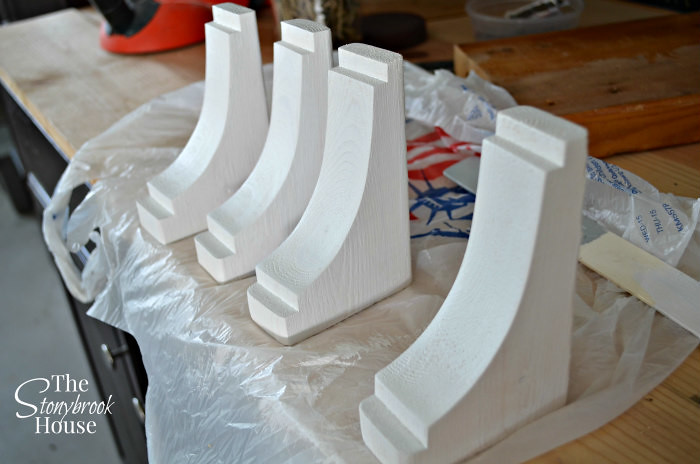
Finished, now ready for primer and paint! :)
It's time to get these shelves installed!!
We ended up using drywall anchors, because we all know studs are never where you need them to be... It's fine, these shelves also won't be holding heavy items.

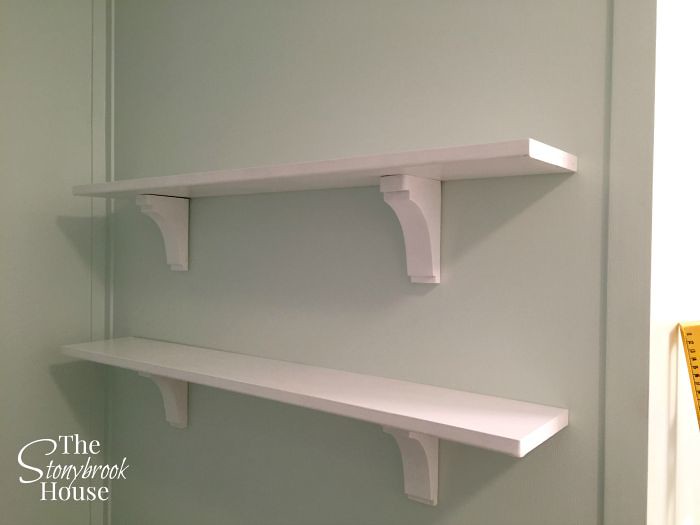
Yay! All done! They aren't actually attached in these pictures. Later, I predrilled a hold in the top of the shelf at each corbel and screwed them in. I need to go back and fill with white wood putty and we'll be completely finished!

Just another view... Love them! And I used all scrap wood! The shelf part is left over from the Mirror Frame project! :)
Now it's time to get some decorating done and we will truly be finished! Plus, I have other fun projects I've been working on that I can't wait to share!! :)
Blessings!

How pretty!
ReplyDelete