This post may contain affiliate links, meaning I get a commission if you decide to purchase through my links, at no additional cost to you. As an Amazon Associate, I earn a few pennies from qualifying purchases.
Well, most of it... You know I'm a 95%er...
I'm telling you the painting part is tedious! Some serious claw hand going on over here. It's sooo close, and it's soooo gorgeous!! We are loving it!
The whole room isn't finished, but it's getting closer and closer. 😊 Did you spot the outlet cover isn't even on? 🤫
Now, let's remember what we started with here....
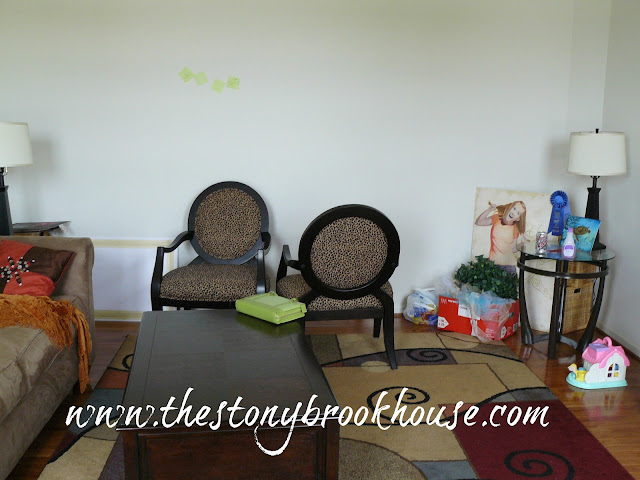
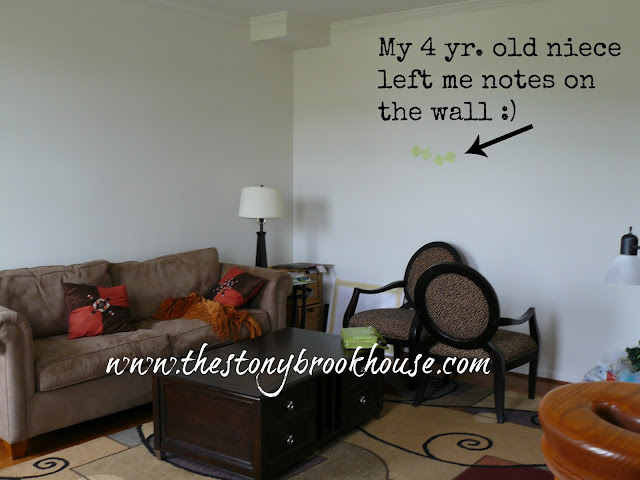
This was our 'formal' living room. Who does that anymore? It seemed like such a waste of space. You can read all about how this, Crazy Idea For A Formal Living Room, got started.
Before we got started, we cleaned it all out and added a pool table!
You can read all about the pool table adventure. Pool Table Room (A Work In Progress).
My plan from the beginning was to add board and batten to this room. I just love how it transforms the space. We purchased primed MDF boards, to make it easier... less painting! 👍
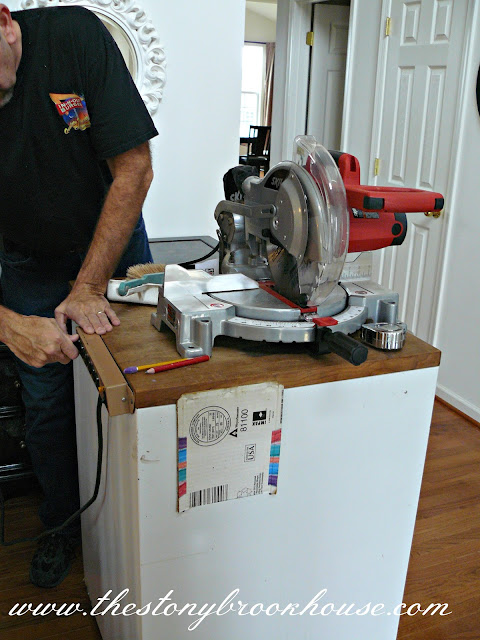
Bringing the miter saw into the house was probably not the smarted thing we did. This contraption is an old housing for a portable dishwasher. Hey... it's actually a great little workstation. 👍
Anyway, we had dust from one end of the house to the other... I would suggest you skip that step! 😜
Hubby, the mental math wizard, that he is... Worked it out so that we would miss every outlet! We did fudge a little here and there, but it worked out! We used House of Hepworth's tutorial. She did a great job explaining the process.
Here we installed the 1x6s on the wall.
Next, we started on the vertical boards.
This was a tedious job.... We found that our walls are not flat nor straight, but that's pretty typical in most houses. So, you have to find a way to deal with it...
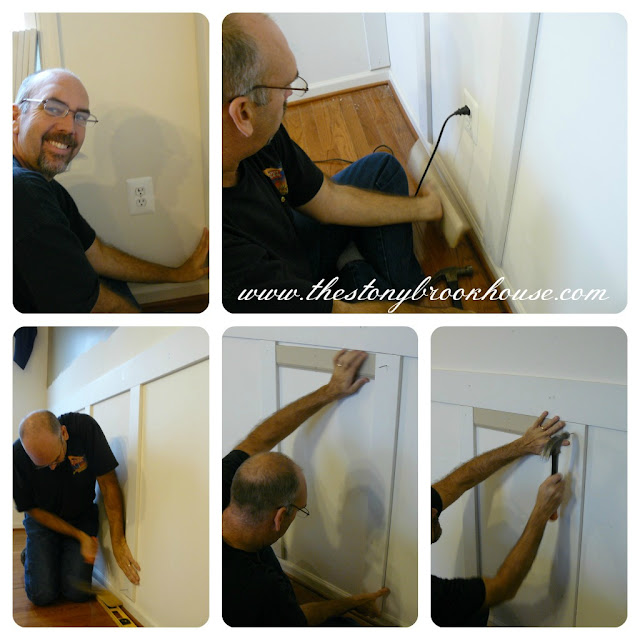
Smiling was easy in the beginning. 😄 There were plenty of frustrating moments, but he is such a trooper!! Using Liquid Nails Adhesive along with the finishing nails, helped solve some of the wall issues.
Half finished!
We added another top board and more vertical boards to create the double board and batten look. ❤️
Half finished!
We added another top board and more vertical boards to create the double board and batten look. ❤️
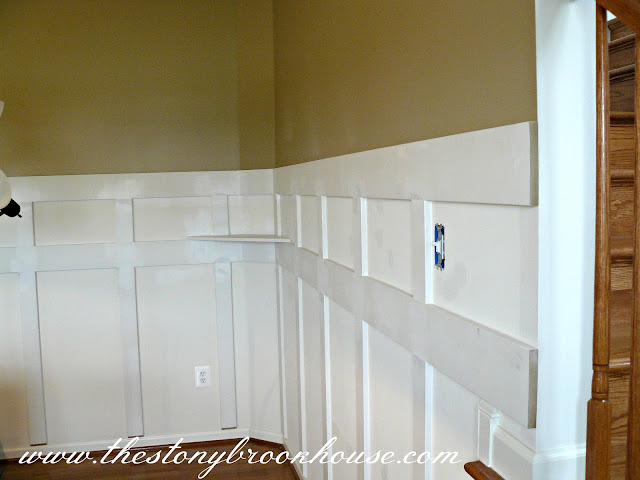
We are so happy with how this is turned out!! Hubby even added little corner shelves for drinks and snacks.

At this point, we weren't sure if we wanted to add a top to create a picture ledge, so we left it for a few days.
In the end, we decided a picture ledge would really be functional. But before we got started on it, we invested in a nail gun! Why did we not get this earlier? Working with a hammer and nails is not the easiest!!! Yeah, we kinda kicked ourselves for not breaking down and getting one sooner. This is really going to up our game!!
We purchased the Hitachi Brad Nailer at Lowes.

This project would have gone so much quicker... Oh, well. Now, we're going to move at lighting speed!! 🤣
Here's Hubby adding the picture ledge.
Oh, my gorgeousness!!!
Wow! What a difference! The plan is to create a gallery wall of family photos. I'm not sure what we're going to do with the other walls.
UPDATE!! Gallery wall is finished! It's actually been updated twice... 😉
Here's one to pin!







Hi Lori, This is Holly - Penny's daughter. I, for one, like the curtins! The pool room looks great! :)
ReplyDeleteHi Holly!! Thanks, so much! I appreciate all the opinions I"m getting... :D
DeleteLori the room is coming along really great. I have been following you through this process even though I have been in the background silent. Anyway, such a transformation. Also, love the curtains that way. Looks professional from what I can tell fromt he pics like they were meant to be like that so leave em' up. Keep us posted on the next step and Happy Holidays.
ReplyDeleteTamishia! I love hearing from you! Thank you so much for your opinion :) I hope you see this!! You can email me at thestonybrookhouse@gmail.com Blessings!!
DeleteAll I can say is WOW!!! That room is just gorgeous with the new board and batten! It adds tons of character to the room. When you mentioned "pool room", I was thinking it was a room out by your pool (if you have one...do you?). I'm glad that you put in the link about your decision making process so I could get up to speed on the room. I just love it.
ReplyDeleteMiss Kitty! You are one of my favorites! Thank you, so much! Miss you!
DeleteIt looks fantastic!
ReplyDeleteThanks, Megan! We are having a lot of fun in there!! :)
DeleteThe room looks wonderful! That woodwork must have been so much work but from this point of view it was well worth it. We have a bonus room upstairs that I'd like to do something similar in. It just adds so much to the room!
ReplyDeleteHi Stacey! Yes, it was a lot of work, but we learned so much in the process and will definitely be doing this treatment in other places in our home. :) Thank you so much for stopping by and reading!!
DeleteI love your board and batten! I was just wondering, what the measurements are of both your boards, and the heights.
ReplyDeleteThank you! The vertical boards are 1X4's the horizontal boards are 1X6's. The height of the top board with the 1X4 shelf is 60in. The middle board is 39in at the bottom edge. I hope that makes sense. Let me know if you have any more questions.
DeleteBlessings,
Lori
Wow!! It came out so beautiful!! Amazing job! I found your blog through the Dishing it and Digging it link party!
ReplyDeleteThanks, Nena! So glad you stopped by! Have a great day!
DeleteI admire your hard work, that is one project I don't know that I would want to do. But after seeing how great it looks...I might have to add it to ur "Winter To Do List". It really adds a great detail to the room. Love it!
ReplyDeleteThanks, Christine! It was a lot of work, but we really like it still!
DeleteI love it, Lori! It looks so beautiful! I love that you tackle these house projects instead of just talking about it like we do over here. So pretty!
ReplyDeleteThanks, Jenny! Hahaha! The list is just too long..... I wish I could do more!
Delete