
I hope you all had a fabulous Thanksgiving.
I've been off the grid a bit, enjoying time with my kiddos. They were only home for a few days and I wanted to take advantage of every moment.
It was such a joy to have them home!
And we got to put up the family Christmas tree. :)
Anyway....
Before Thanksgiving, we started working on board and batten
for the billiard room, and I'm happy to say...
The board and batten is finally finished!


I'm telling you the painting part is
T E D I O U S!
Serious claw hand...
I'm very close to being done, it just takes forever!
But it is gorgeous! I'm soooo LOVING it!
The pool room is far from done,
but it's getting closer and closer to being complete. :)
If you look hard enough, you'll see the electric covers still aren't on...
but it's getting closer and closer to being complete. :)
If you look hard enough, you'll see the electric covers still aren't on...
So, let's take a trip down memory lane....
Do you remember this??

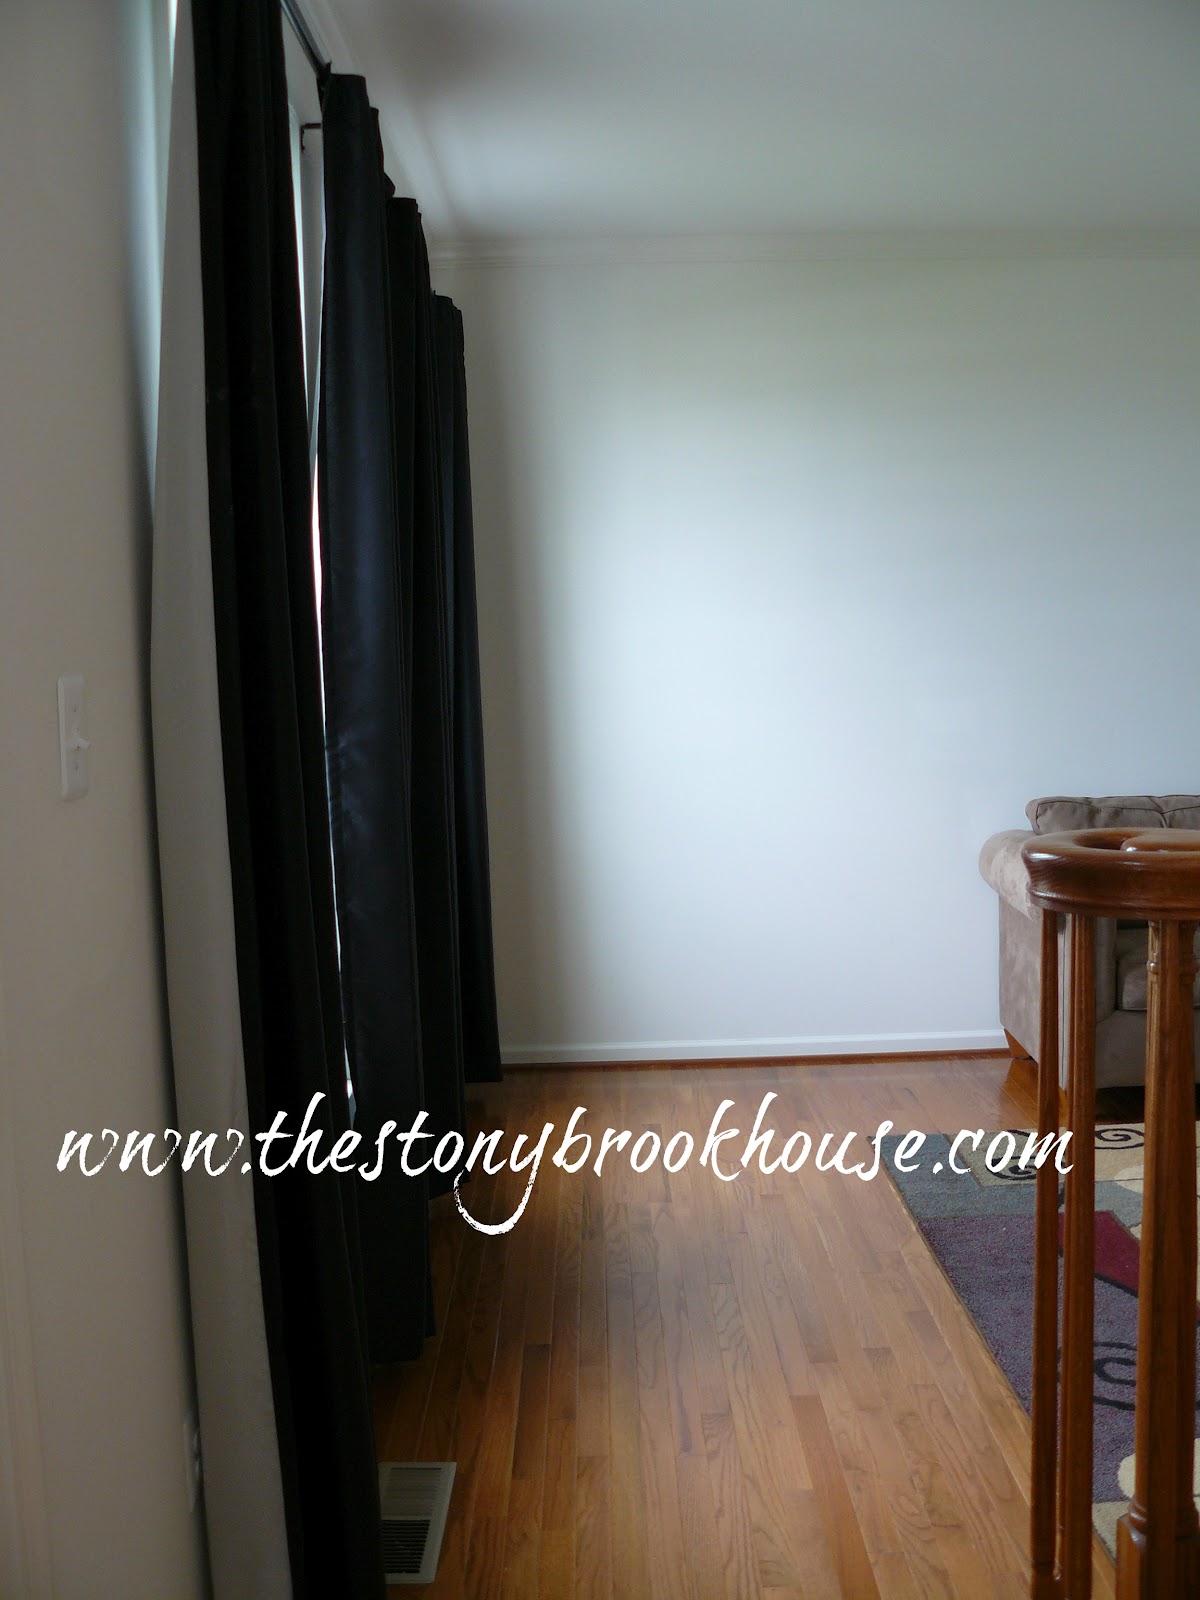
See these curtains??
Remember them, I have a question at the end.

This was my "formal" living room.
You can read about how this crazy idea all got started, here.
Then we cleaned it out and added the pool table.

You can read about that adventure, here.
So, if you've been following me,
you know I wanted to add board and batten to the room.
you know I wanted to add board and batten to the room.
It all began with some primed mdf boards.

And a handy dandy miter saw.

This was probably not the smartest thing we did. We brought the miter saw into the house on hubby's old portable dishwasher housing.
Well... we had saw dust from one end of the house to the other. I just cleaned some off a door panel the other day. I wouldn't suggest you do this.
Well... we had saw dust from one end of the house to the other. I just cleaned some off a door panel the other day. I wouldn't suggest you do this.
Anyway....
Hubby did all the measurements. I am NOT good at mental math. I don't see the point in it. That's what calculators are for, plus I don't have the patience for that stuff. Hubby LOVES it! Love might be a strong word... But, He worked it out so that we would miss every outlet. (Yay!)
We had to fudge a little here and there.
She did a great job explaining, so check her out here if you want a specific tutorial. I'm just going to give you a few highlights.
1x6's are up first.

Then we started on the vertical boards.
Let me tell you there are a TON of mistakes. This was a tedious job. Hubby and I found out that our walls are NOT flat and straight.

Don't be mislead by that smile.... that was the in the beginning....
There were a few frustrating moments...
There were a few frustrating moments...
He is such a trooper!

Here it is half done!
We did end up using liquid nails along with the finishing nails.
We did end up using liquid nails along with the finishing nails.
We wanted a double look.
So, we added another top board and more verticals.
So, we added another top board and more verticals.

Doesn't it look awesome???
See how hubby put a shelf in the corner?
He put one in each corner for drinks and such.

Cool, right? He's so smart!
Almost done!!!
We finished all of this in one day. Seriously!
The only part that was worked on the next day was the finishing touches for the shelves.
We were shocked, but very glad that we got so much done in one day.
I took these pictures after I had primed it.
I did not prime that day.
I did not prime that day.
We left it like this for about a week. We weren't sure whether we wanted to add a picture ledge to the top.
In the end, we decided to add it.
But before we got started, we made the best purchase EVER!
And we were kinda kicking ourselves for not getting it
BEFORE we started this project.
And we were kinda kicking ourselves for not getting it
BEFORE we started this project.

It's a bad pic, but you can see what it is!
NAIL GUN!
This job would have gone even FASTER if we had used it in the beginning. Oh, well.
We have one now!
So, hubby added the top picture legde.

OMG! Gorgeous, right?
Here is what it looks like today.


I want to add a clock on one wall and
then probably a mirror on the other.
Oh! And those curtains...
This is what I've done with them for now...
 Everyone says they like them that way. I just threw them up over the curtain rod. I don't hate them...
They have to be up otherwise they get in the way when we play pool.
What do you think?
Be honest....
Anyway, I'm not sure how soon I'll be able to finish all that I want to do. Soon....
It's Christmas time now.
So, it will probably be after the holidays... Oh, well.
I LOVE this time of year!
The house is almost decorated!
then probably a mirror on the other.
Oh! And those curtains...
This is what I've done with them for now...

They have to be up otherwise they get in the way when we play pool.
What do you think?
Be honest....
Anyway, I'm not sure how soon I'll be able to finish all that I want to do. Soon....
It's Christmas time now.
So, it will probably be after the holidays... Oh, well.
I LOVE this time of year!
The house is almost decorated!

If you like it, PIN it!
Hi Lori, This is Holly - Penny's daughter. I, for one, like the curtins! The pool room looks great! :)
ReplyDeleteLori the room is coming along really great. I have been following you through this process even though I have been in the background silent. Anyway, such a transformation. Also, love the curtains that way. Looks professional from what I can tell fromt he pics like they were meant to be like that so leave em' up. Keep us posted on the next step and Happy Holidays.
ReplyDeleteAll I can say is WOW!!! That room is just gorgeous with the new board and batten! It adds tons of character to the room. When you mentioned "pool room", I was thinking it was a room out by your pool (if you have one...do you?). I'm glad that you put in the link about your decision making process so I could get up to speed on the room. I just love it.
ReplyDeleteIt looks fantastic!
ReplyDeleteThe room looks wonderful! That woodwork must have been so much work but from this point of view it was well worth it. We have a bonus room upstairs that I'd like to do something similar in. It just adds so much to the room!
ReplyDeleteI love your board and batten! I was just wondering, what the measurements are of both your boards, and the heights.
ReplyDeleteI admire your hard work, that is one project I don't know that I would want to do. But after seeing how great it looks...I might have to add it to ur "Winter To Do List". It really adds a great detail to the room. Love it!
ReplyDeleteI love it, Lori! It looks so beautiful! I love that you tackle these house projects instead of just talking about it like we do over here. So pretty!
ReplyDelete