Finally! All of the Christmas decor is packed up and put away for the year. The Christmas trees had to hang out a bit longer because the boxes looked like this...and duct tape wasn't working anymore.
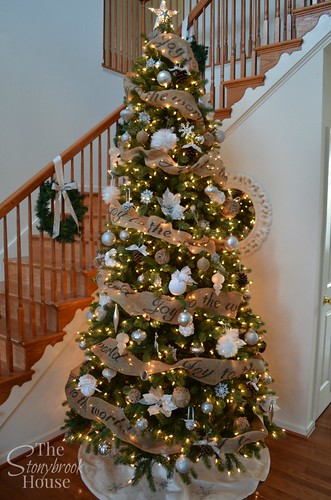
You know the Christmas trees never really fit back into their boxes after the first time you take them out. Mine were always busting at the seams. Plus, those boxes are HEAVY! Granted I have 2 9ft. trees but they are so pretty set up.
As much as I love them up, after Jan 1, I am r.e.a.d.y to take them down! I want a clean fresh house again.
So, back to the storage issue. I looked into some sort of bag that I could put them in, but I really didn't see anything that was going to work for me. AND that wasn't going to cost me an arm and a leg. I had an idea!
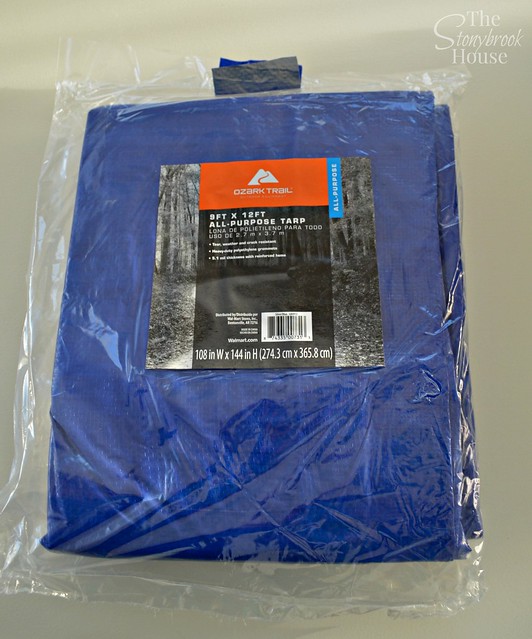
I went out and bought a bunch of tarps, because I wasn't sure what size I would need.
I ended up using 2 tarps. They were both 9X12 ft. for $9.97 a piece. Perfect!
First, I took the tree apart. And laid it out on a big old sheet.
Then I got an old twin size sheet to kinda of get an idea of how much "tarp" I was going to need.
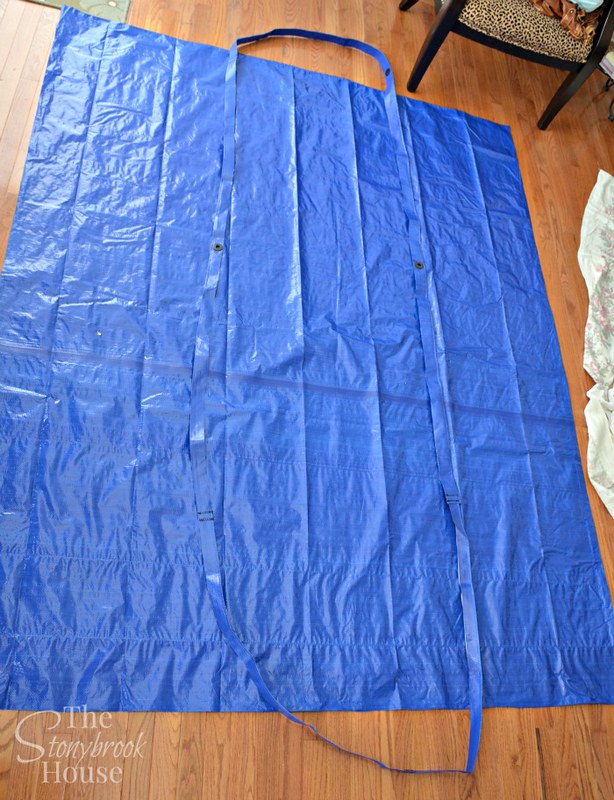
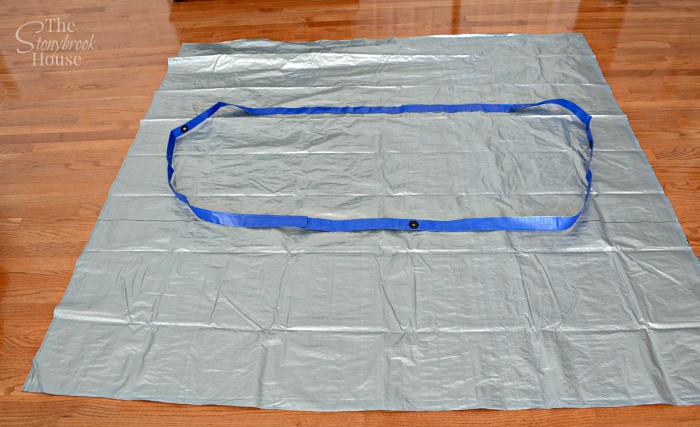
Next, I opened up the tarp and cut it in half so that I had two 9X6 ft. pieces. Then I cut off all of the reinforced edging and used that for the straps to my bags. I just sewed them all together, decided the length I needed and cut off the excess.
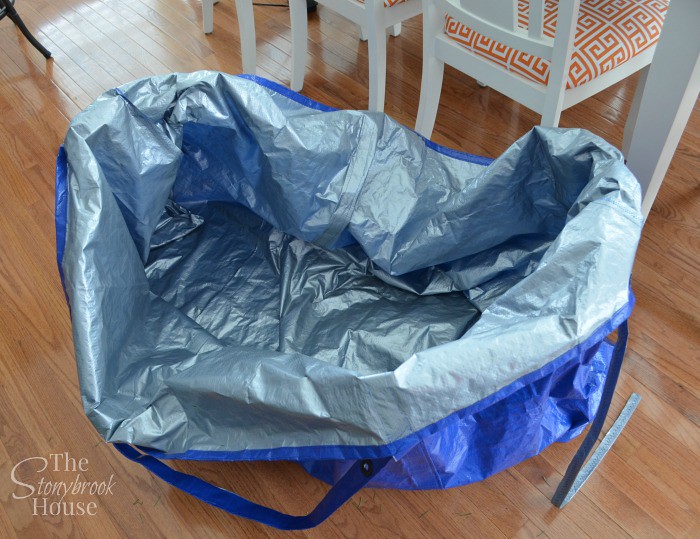
As you can see that is going to be one BIG bag. Its for the base of the tree. It's an odd shape. You can see how I'm going to use the handles. They will wrap around the bag for support when I have to carry that bad boy down the stairs to the basement!
It kind of looks like a big IKEA bag.
To close it up a bit better, I made some ties with the excess and added them on the sides. I made two of those bags.
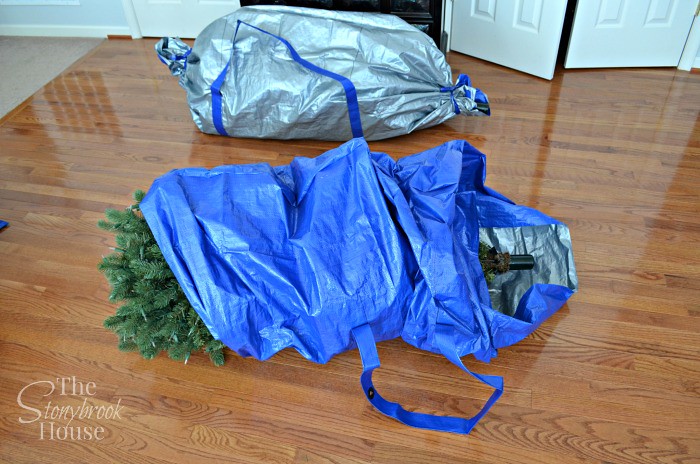
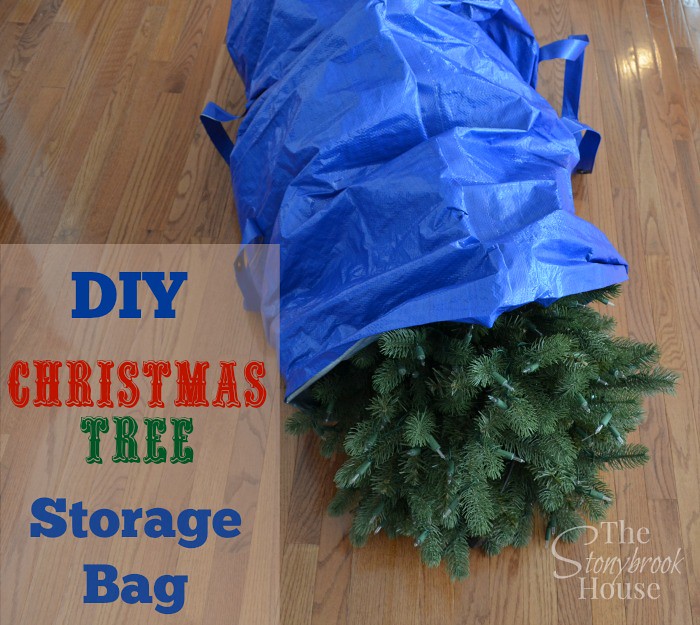
For the middle section, I thought that a sleeve bag might work better. I cut open the other 9X12 ft. tarp and cut it in half like the first, into two 9X6 ft. pieces.
I cut off approximately 3ft. from the 9ft. end. Measured my straps and marked where I wanted them sewed. You need to put the straps on first, before you sew up the "sleeve". For one tree I made blue bags and the other, I flipped the tarp over and made silver bags.
Voile'! I made ties out of the excess and tied up the ends. It worked out really well.
I pulled it in from one end and then when I'm ready to use it, I'll pull it out from the other end!
I had two 3X6 ft. sections of tarp left over from the middles section bags. I used those to make the last bag for the toppers and bases. I made just a regular bag like the first one and they both fit in it. Here they all are!
Yes, that is A LOT of Christmas tree there! But this is so much more manageable for me. First, I will be able to bring up the Christmas trees by MYSELF! I don't have to wait for Hubby to get home. :) And now I don't have to deal with those broken old boxes! Yes, this does take up a bit more storage, but I have a huge basement and actually all of my Christmas decor fits under the stairway and they stacked up just fine!
See! If you can sew a straight seam, you can definitely do this!!


Very compact! I will do the same with mine! Thanks for the idea!
ReplyDeleteSure thing, Janette! I might do a bit of tweaking next year. Hope yours come out even better!
DeleteThanks, Faron! Wish I could've emailed you the answer, but yes! I used my sewing machine to sew it up! It worked like a charm!
ReplyDelete