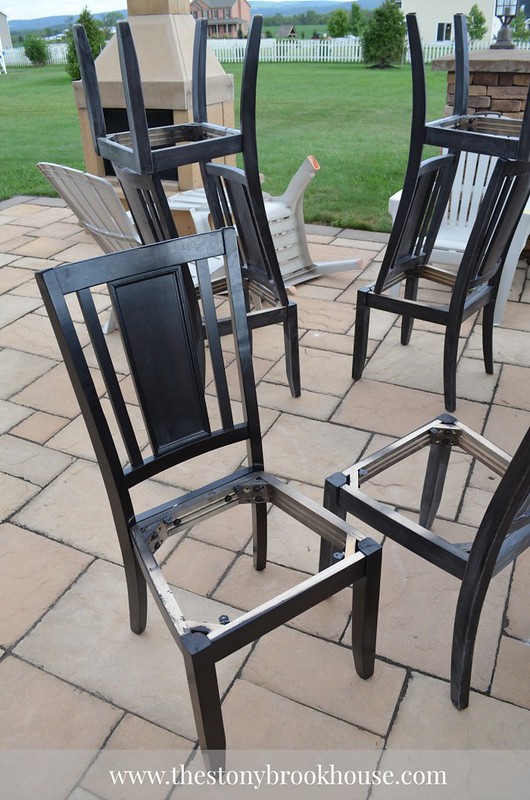
Here's the first step... Sand, sand sand!
Then two coats of primer. I was rather sloppy with the first coat I brushed on. Bad move. I wish I had rolled it on with the foam roller like I did the second coat. I had to get out the power sander to sand down some of the brush marks... :( Oh well, live and learn. At least I know that these chairs can take a beating! That oil based Zinsser Primer is the Bomb!!! So, I primed, sanded, primed, sanded.
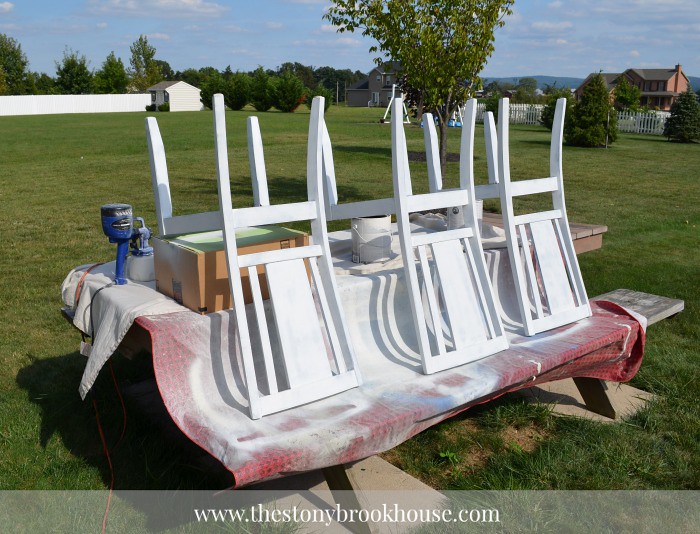
Ready to paint!
I got out my paint sprayer. I knew that would get in all the nooks and crannies a roller couldn't. And off I went! Hubs and I decided that the chairs would look best the same color as the table. We weren't sure if we wanted to paint them gray or stay the same as the table. I'm glad we took this route.
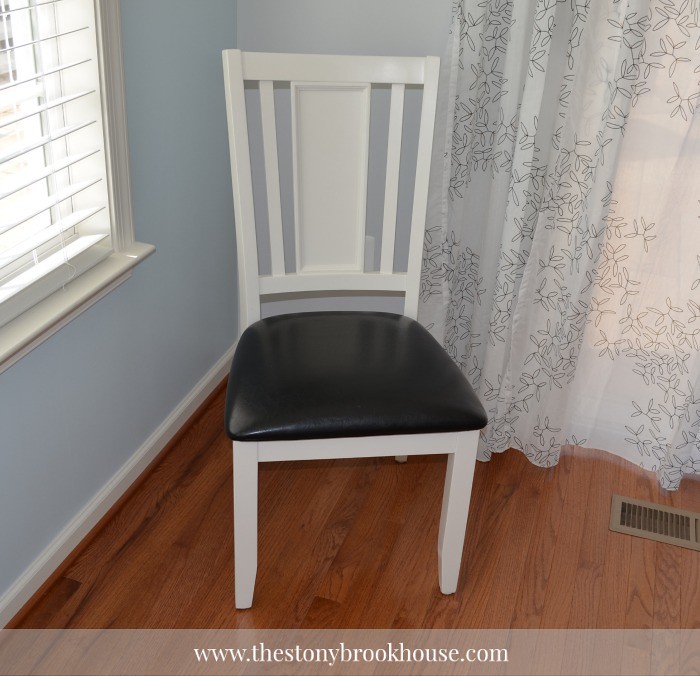
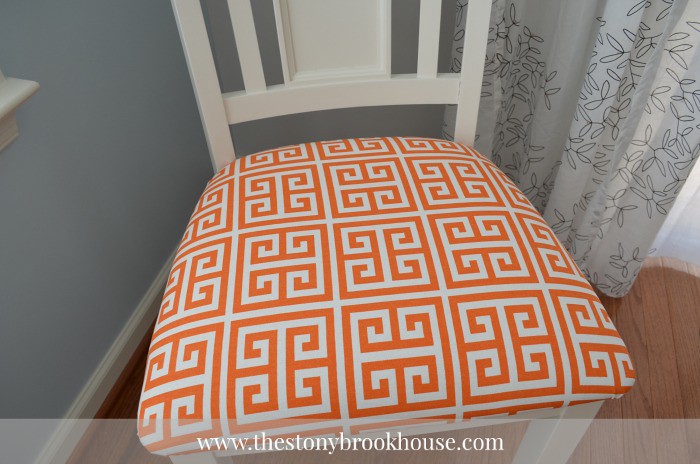
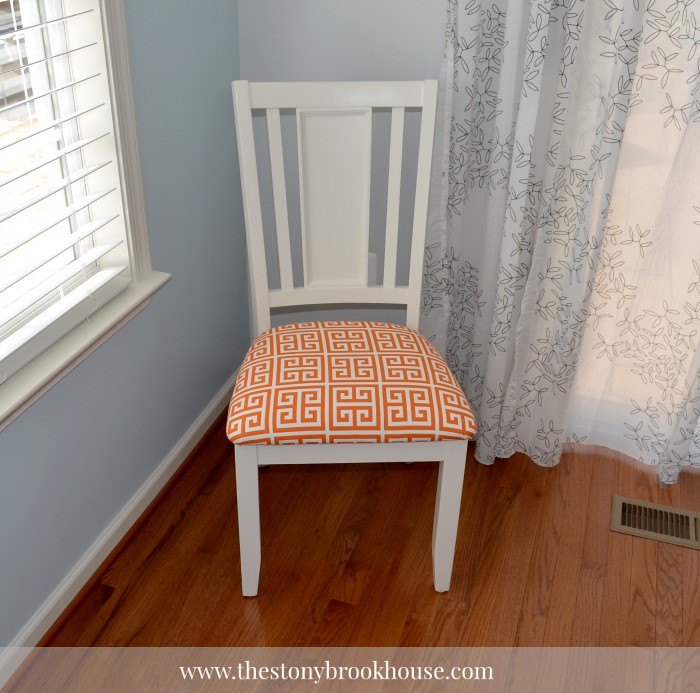
You didn't think we were going to leave that dull, ugly, ole black cover on them did you? Blech! No way, we needed something fun and colorful! Painting them the off white gave more options with seat covers. What do you think of this??
Oh! My! I am in LOVE!!! This decision was comprised of 4 visits to JoAnn's and 3 visits to Hobby Lobby. I dragged Hubby to both places a couple of times. Plenty of discussions pouring over pics we took with our phone. Back and forth on colors gray, blue, green, orange. Hubs was a bit nervous about the orange. We talked about taking risks and going outside the box. We both didn't want boring chairs. This is definitely not boring!
I couldn't wait any longer....I just went for it and jumped in with both feet. I really really liked the orange. So, I went in to Hobby Lobby with my 40% off coupon and bought the whole bolt. There was only 3 1/3 yards left on it and I knew it would be enough. I got it all for less than $20 bucks! Win Win! I had it all set up when Hubby walked through the door. I just draped it over two chair seats and waited for his reaction. If he hated it, I could return the whole thing.
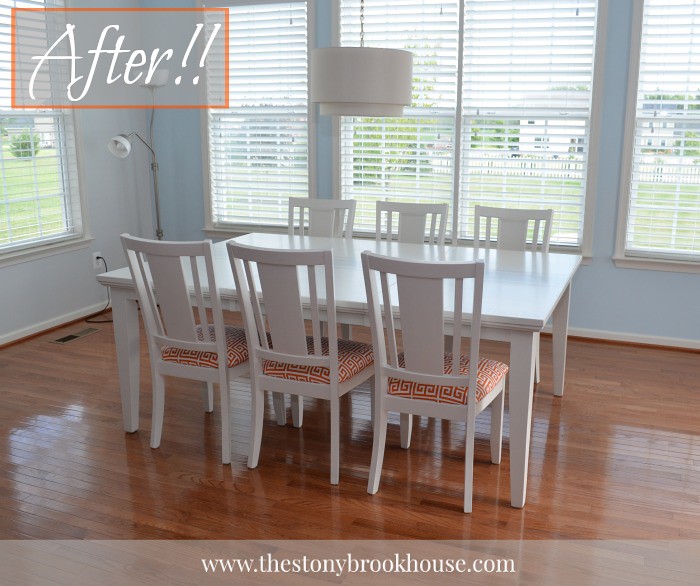
He loved it! YAY!!! Whew! This table and chairs looks sooooo different now and completely complements the space! Say that 10 times fast!
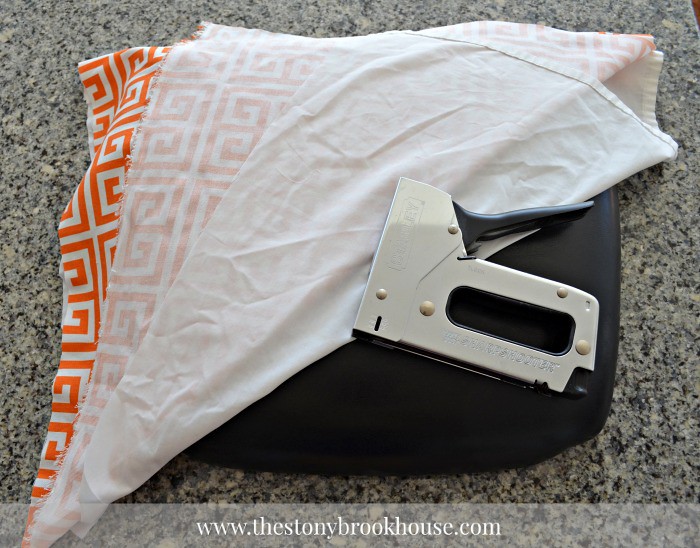
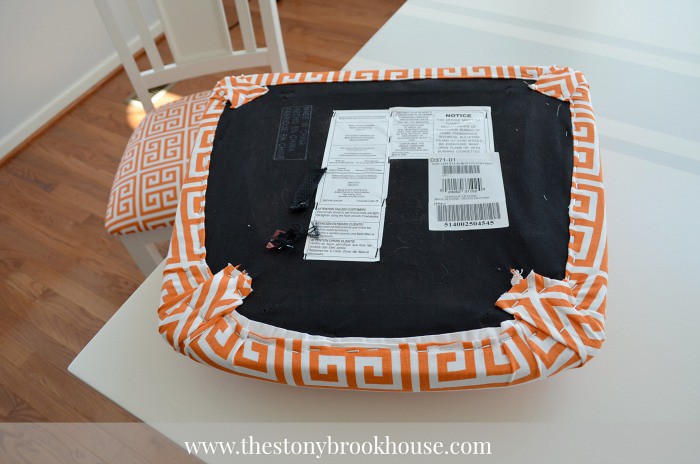
It was super easy to cover the chair seats! I used a staple gun and the fabric. It needed a liner because the black leather made the fabric just a bit darker. I found an old sheet to use. That did the trick!
Then you just center it, pull, staple, pull, and staple all the way around. Your hand will get a work out using the staple gun. :)
Once I got the hang of it, I had these puppies done in no time. All six of them. I still have two more chairs to do, the end chairs, but they will be a breeze after all of this!
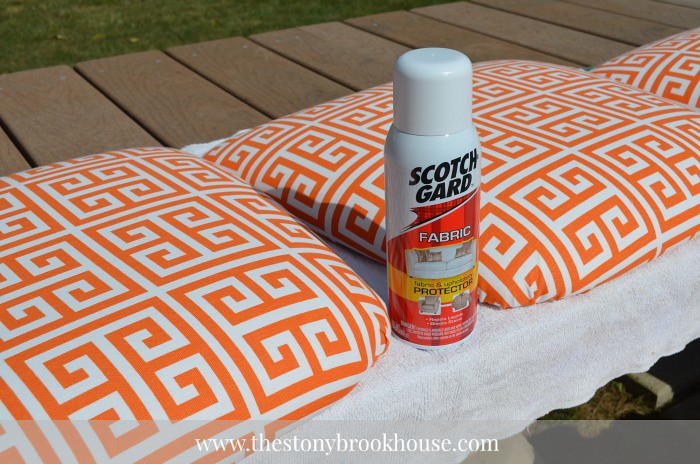
The next step... Scotchgard!
Most definitely! I want to make them last as long as possible. But I'm not too worried about it. It's a home, things get used and messed up. It's part of the character.
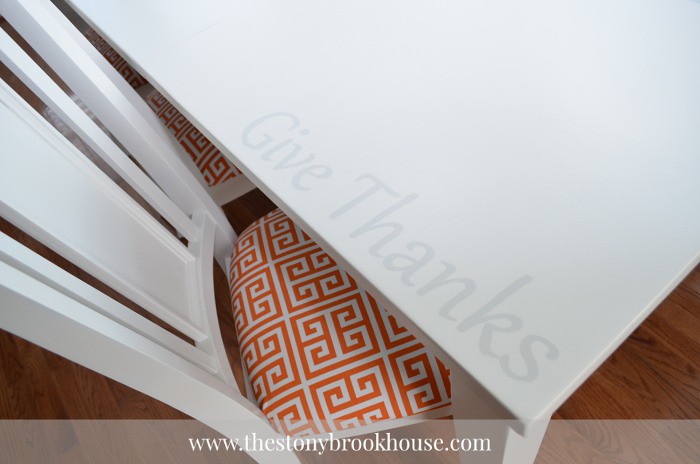
This looks soooo much better! Yes, I am thankful!
Here's a couple more before and afters...

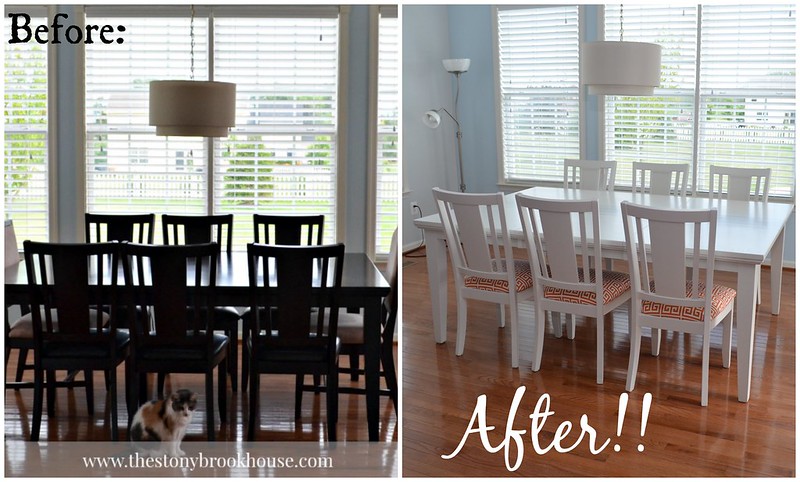
Wow, right? Hubby and I are thrilled with the way everything is turning out! Now if you want to see how we got here....
The Painting Dilemna
The Stripping Process
No More Ugly Table
I've been busy with other projects, too! Those will be coming soon...
Blessings,


I love it! Isn't it amazing how changing the color of your table and chairs makes the entire room seem brighter? Love the orange in your space too! Great job!
ReplyDeleteThanks again, Eliesa!! I know what you mean..... I'm still pinching myself, that it came out so good! You have no idea how many times I walk in there and smile! :)
Delete