
I'm at the end of all that and I am determined to finish a few projects BEFORE I start any new ones! :) So, here's one I did over a month ago, that I'm just getting around to sharing. It's super cool! Thrifty & Easy Faux Granite Countertops!
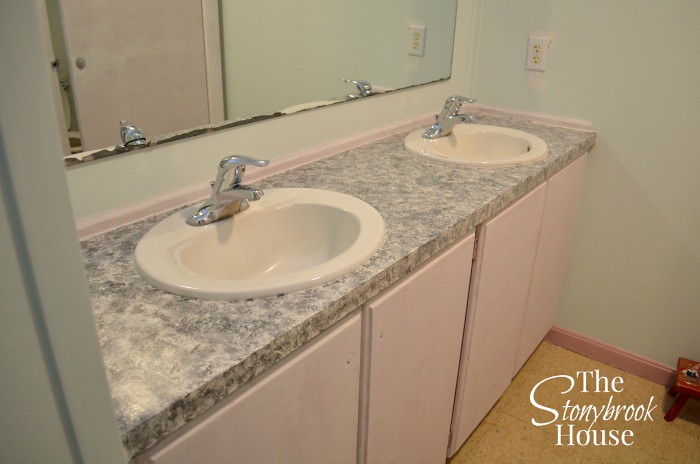
This is one of the projects for our Ladies Bathroom at our church. Here is the before picture.

(FYI...This post may contain affiliate links or sponsored content. Regardless, I only recommend products or services I use personally and believe will be good for my readers.)
First, I had to tape off the edges and the sinks and prime the counter. I used Zinnsser Oil Primer Sealer Cover Stain

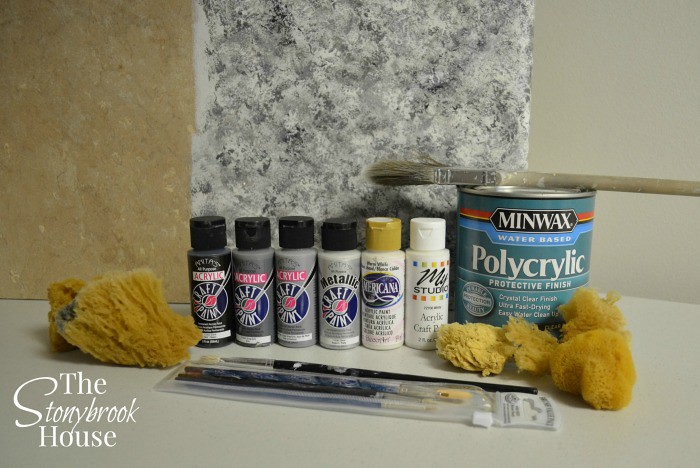
Here are the supplies that I used. Simple acrylic paints, some sea sponges, and top coat it with Minwax Polycrylic Protective Finishes
A friend of mine, Penny, was free one afternoon to work on the counter.We just went for it. Of course, I forgot to take pictures throughout the process. And.... I can say we made mistakes, but if we were heavy with one color we went over it with another. The more layers the better. It gives depth to the "granite".
Basically, we put some paint on a foam plate and used a sea sponge and dipped and dabbed in an up and down motion on the counter. You can't mess this up. We completed it in about an hour. The lighting in there was awful!

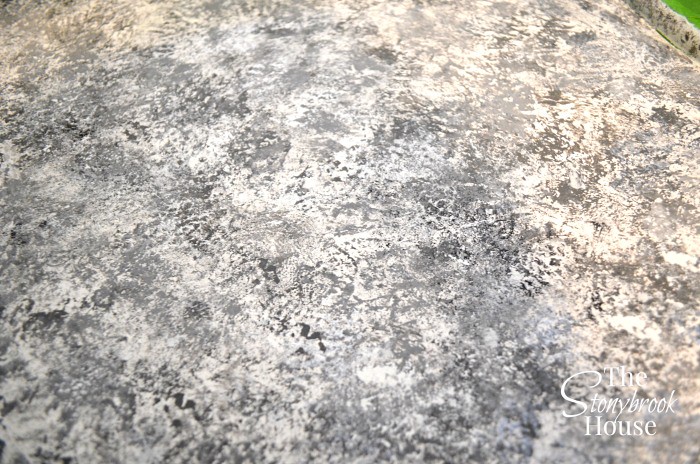
Here's a close up.

And even closer....
Turns out everyone on the committee loved it and we saved ourselves quite a bit of $$! I got the sponges 40% off at Hobby Lobby and picked up the paints for a couple of dollars. The big ticket item was the can of Polycrylic for $17! Whoa! Break the bank! ;) For about $25 we had a new counter!
I've only put on about 2 coats of Polycrylic so far, I plan on putting more. It is holding up beautifully!!

Doesn't it look nice? Just got to get rid of that PINK!!!
So, now that we just had my daughter's graduation party this last weekend, my focus will be on getting this Ladies Bathroom Remodel complete! Penny and I have painted the stall doors, although, they need a couple more coats of white. I have worked on the cabinet doors and will share those later. Next up is framing out the mirror, touching up the walls, and finding some flooring that looks good. I'm so excited with each step we've made!
Blessings,

Thanks for the pictures! Great idea .... I have a few laminate tops that were spoiled by setting down cleaners that took the colour right out of the counter. I think I will try and fix these areas now ...
ReplyDeleteHi Caroline! Oh, I bet that will work great! Good luck! You can do it!! :)
DeleteAwesome job 😀and they look beautiful can't wait to see the rest when it is done
ReplyDeleteWhat were the brands and colors of acrylic paints that you used?
ReplyDeleteI have seen the kits to do countertops and they are almost $200 (and I would need 2 to complete my kitchen countertops). Your method not only looks great, but is much less expensive. Do you think it would hold up to heavy use?
ReplyDelete