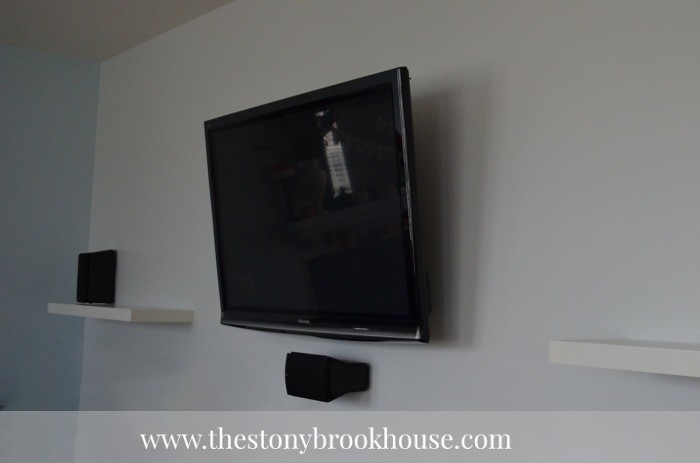
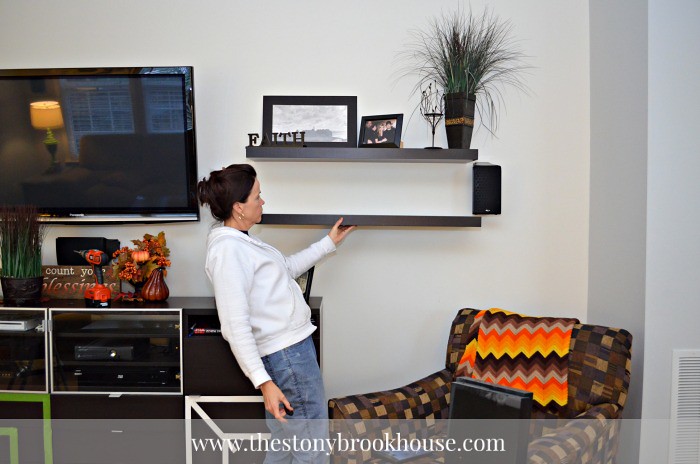
We also repositioned the shelves. Remember my awkward picture from the other day?
Well, we decided it looked much better in line with the bottom of the TV and under the speaker. We still aren't sure if we will add more shelves. We'll see. But at least now they aren't half over the entertainment center and half floating. They are more floating over the open space. You'll see better when the room is complete.
Plus the speakers look like they are sitting on the shelf. I was thinking of painting them or making a "screen" for them.
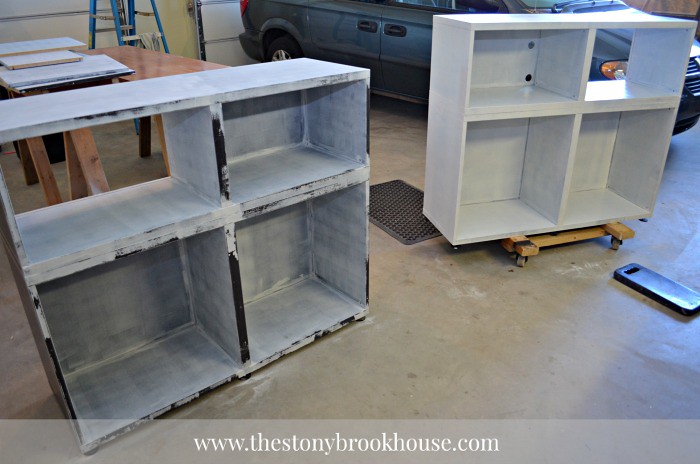
I had already started taking the entertainment center apart while the paint was drying. I wasn't wasting any time. I couldn't wait to get started!! It is going to look so different in here!!
Just so you know these units are from IKEA in their BESTA series. We built them custom to what we wanted. In yesterday's post I explained that we used to have four of them wall to wall, which was way to overpowering for this room. So, here's the start of my IKEA hack.
Lot's of painting to be done! But the fun part was putting the fretwork on.
The chop saw was so easy and handy to use for this! I'm actually feeling pretty confident using that bad boy! Measure twice, cut once! I just used regular ole Liquid Nails to attach to the fronts of the cabinets, then I clamped them down to stay.
They are going to look so awesome!! The drawers were going to be tricky....
While things were drying, I was working on the actual cabinet.
Has this ever happened to you....? When you KNOW you should not skip a step, but you just want to move a project along and you don't want to waste time, and you read where another blogger said, "Nah, you don't need to do that step". DON'T LISTEN!!
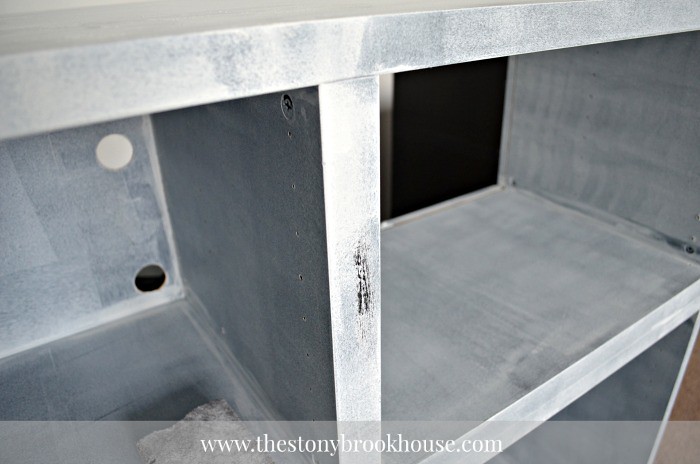
Here was the sign that I was going to have trouble....
NEVER SKIP SANDING IN THE PREP WORK!
Ugh...I was so frustrated! I know I should never skip that step and I never will again!
I was even using the oil based primer that's supposed to adhere to "anything", and it does do a great job, but I should have known better to at least scuff it up.
Then... I was mad, so I took the power sander to one of the shelves. So, of course it was going to all come off....
Then I calmed down and took my hand sanding block and I just kept sanding, and sanding, and sanding... Whatever came off, I'd just prime over it again. Let me just tell you about that shelf... the new coat of primer stuck like glue!
You can see the difference with the second coat of primer. I was mainly concerned about the top side and edges. That's where the wear and tear will take place. Pretty sure it will be okay.
A lot of sanding and priming took place..... for days.... But I have to believe it's going to look soooo good!!


No comments
Post a Comment