
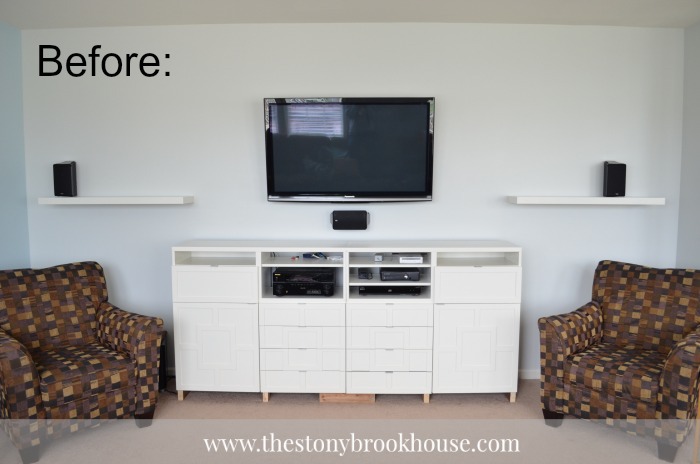
Here's the before.
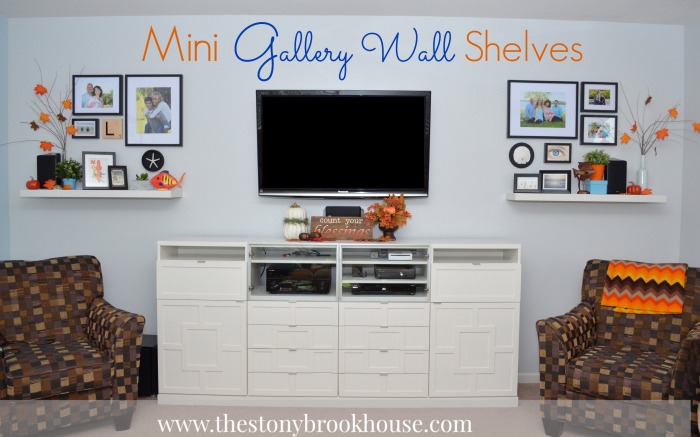
When I first starting thinking about this project, I was considering making the entire wall a gallery wall, but my smart daughter thought that might be too overwhelming. She was so right! Then I thought maybe just a picture or two on each side of the TV. That seemed too boring. This seems to complement the whole wall.
In the beginning, was going to put up my daughter's artwork. She has some pretty awesome pieces. But after some thought, I realized that this is where hubby and I sit, entertain, watch tv, sit by the fireplace, play cards, etc... This is where we should see our family! These photos are from 2 family photo shoots, that I've never printed before. I know, bad, right??
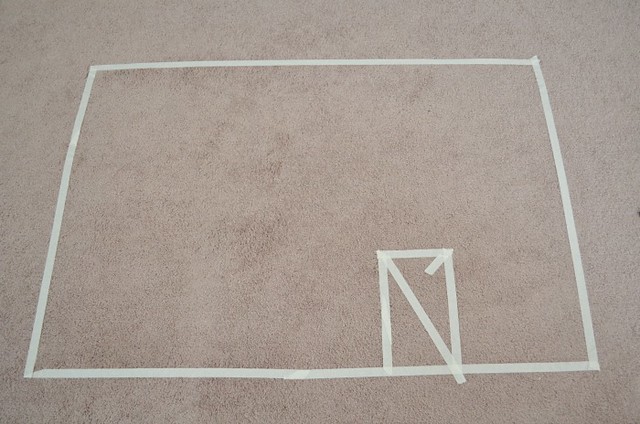
So, this is how I did the Mini Gallery Wall Shelf. I started by taping the dimensions on the carpet.
Here's a close up of the left side.
I adore that pic of my two kiddos! They look so happy there!
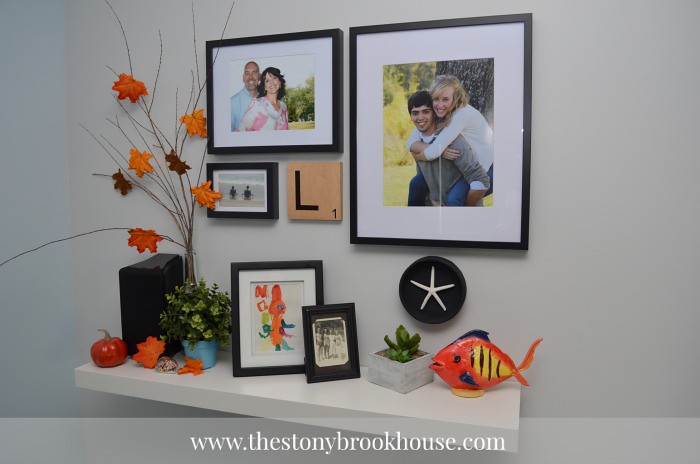
That is such a great pic of hubs and I. The little one under that, is a pic from a vacation of the kiddos, so peaceful. I took some branches from the yard and stuck them in a bottle and hot glued a few leaves to them.
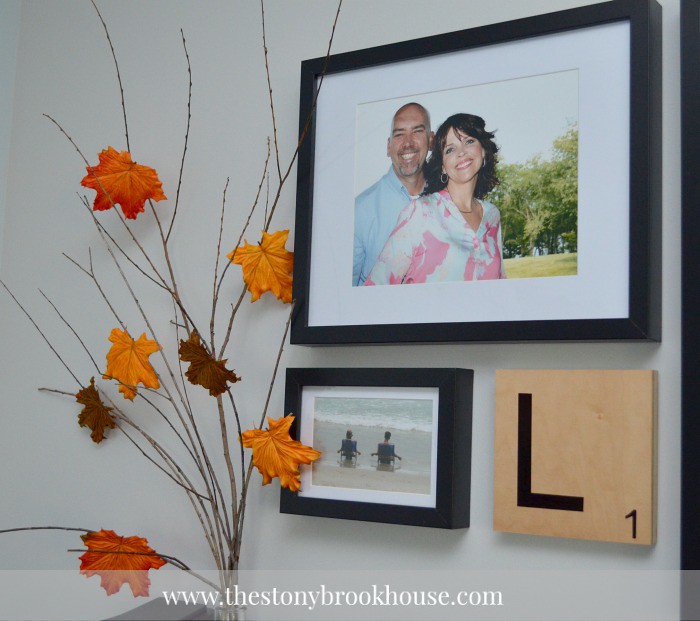
The scrabble letter I made. I had this block of wood from a blogging conference a couple of years ago. I just printed off a letter L and a number 1 and traced them onto the block. I used a ruler to get the lines perfect. Then you won't believe this.... I used a Sharpie! Came out awesome! I love that!
Isn't that fish adorable?? My daughter made that in high school, that had to be on my shelf. I glued the starfish to a lid that I painted black.
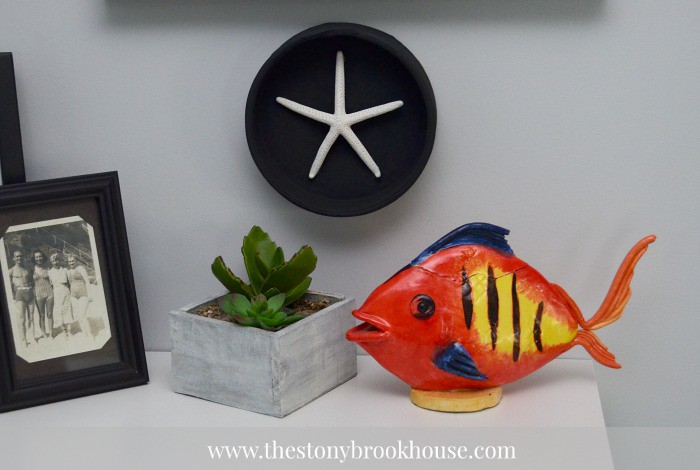
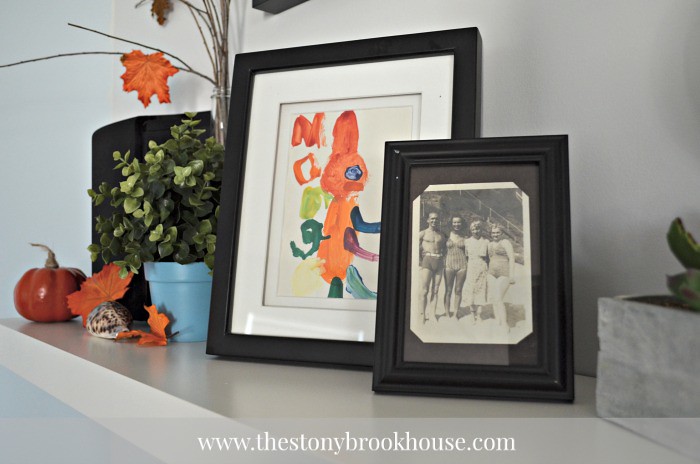
This photo is of my grandma, her mom, and her siblings, isn't it cool? And that little bunny... so sweet. One of my daughters first pieces of art. She was probably 3 or so and she did this precious finger paint and wrote most of her name. They grow up so fast!
Ok. Now onto the other Mini Gallery Wall Shelf. Love, love, love these photos! I'm so glad I decided to put up family pics. I smile every time I look up at this wall.

Isn't that eye cool? Yep, another piece done by my daughter. She's got talent!
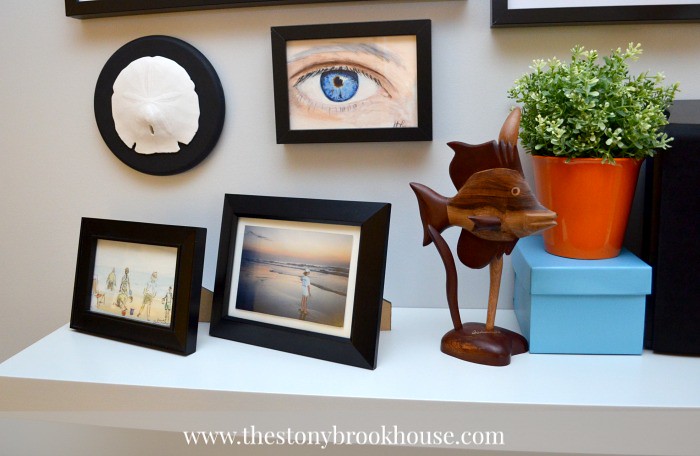

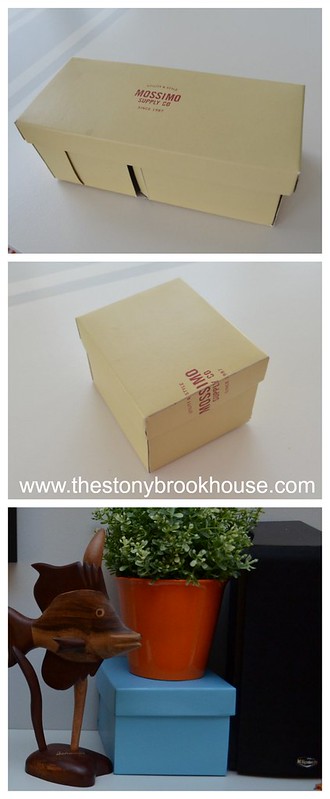
And the little blue box.... cut down an old shoebox. Hot glue gun the sides and lid, add a little spray paint. Done!
If you want to see the changes, check out the links below.
TV Wall Is Getting An Overhaul!
IKEA BESTÅ Hack Part 1 {Don't skip the prep work!}
IKEA BESTÅ Hack Complete!
Blessings!

It looks very cute! Genius with the shoe box (:
ReplyDeleteThanks! I'm determined to spend as little as possible, and use what I have! I appreciate you stopping by!
DeleteThis looks great and the way you did it just balance that whole wall. Lovely!
ReplyDeleteHi Vanessa! Thanks so much. I'm so thankful it all came together!
DeleteI don't have much on my walls and never know how to do the right arrangement. You have inspired me today. Thanks. I like it a lot.
ReplyDeleteHi Helene! I'm right there with you, I get so overwhelmed with whether it's actually going to look good, or if it'll look like a 5 yr. old did it. :) Thanks so much for your encouragement and for stopping by!
DeleteLove the colors! Orange and blue look really good together. Nice how you taped it out first. We just did that in our family room to make sure our new couch would fit in the room!
ReplyDeleteKathleen
Charm Bracelet Diva {at Home}
Thanks, Kathleen! You just never know how it's all going to turn out. I appreciate you stopping by!
DeleteThis is so very cool. It is amazing how simple little things like this can totally transform a space.
ReplyDeleteHi Mandee! I know you are so right! I'm completely enjoying sitting in this room! Thanks, for stopping by!
DeleteGreat ideas and so simply. I really really love the idea of Scrabble letter and what's not to love about your daughter's artwork. Also, laying everything out on the floor to figure dimensions was a smart plan and one I'd never considered (but will NOW). You did a fantastic job and it really adds a lot to the room.
ReplyDeleteThanks so much, Tara! I really appreciate your encouragement!
DeleteThese mini gallery areas look great, Lori! Thanks for the tips on adding items other than just pictures to add interest.
ReplyDeleteHi Gayle! Thanks! I'm so glad it all worked out.... It was touch and go there for awhile ;)
Delete