If you missed the chevron headboard, you can check it out HERE.
Do you see that lovely fabric on my daughter's lap? Nice right?
Of course, we jumped right in before we got a decent before photo.... :/ Oh well.
You can see a bit more of it here...before we really got started, my daughter's boyfriend helped out by getting the wheels to roll nice and smooth.
My daughter picked out the fabric which really wasn't that much. I think we got almost 2 yards, and I have a bunch left over, so it probably cost us about $5.
She laid out the fabric to get a feel for how it would look.
Love it! What is it about chevron? Who doesn't love it? The next process was E-A-S-Y!
Tacky glue.
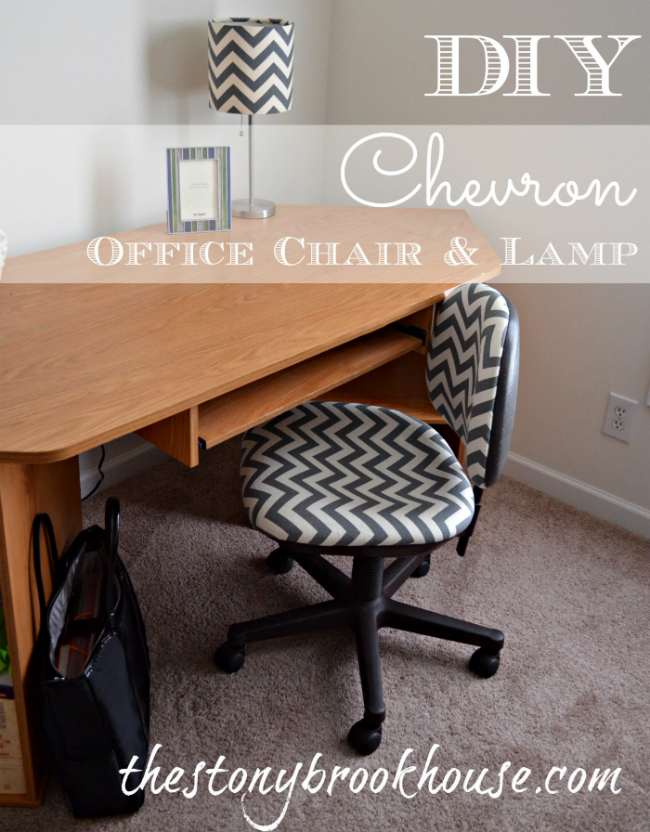
Yep, seriously easy.... We used tacky glue because it is flexible. It's definitely not going to be washed, so it should be fine.
We glued the back support and the seat, pretty much all the way to the edges. Then we stuffed it in the edges with a putty knife. It worked perfectly!! (sorry no pics of that part) :(
Here's an even better picture in her apartment! We even covered the lamp shade in the chevron fabric.
All set for studying and homework! Whew! Only a few more projects!
Blessings,


Love, love, love Chevron!!! What an easy, yet full of impact, update!
ReplyDeleteThanks, Doreen! I know! and it was CHEAP!! :)
DeleteI appreciate you taking the time to read!
Blessings,
Lori
I bet her dorm room is adorable. Can't wait to see the finished room!
ReplyDeleteIt really is! I'll have to take some more pics when we go down in a couple of weeks! Thanks for reading!
DeleteVery cute. And I think you should clarify - all she needs is a picture of her wonderful mom in that frame.
ReplyDeleteHahaha! Susan! I just don't think that would be her top pic! :) Thanks so much for stopping by and reading!
DeleteBlessings,
Lori
The chair and lamp shade look amazing. Great job!
ReplyDeleteThanks, Judy! She's really happy with it! Thanks for stopping by!
DeleteOh my goodness! I love that chair - and the rest of the room looks fantastic! I'll have to show my daughter the headboard - her bed at the dorm is headboard naked!
ReplyDeleteThanks, Eliesa! It really did make a difference! Thanks for reading!!
DeleteBlessings,
Lori
Thanks, Kayla!
ReplyDeleteHi Carrie! I love doing that, and it makes it a custom piece! Thanks for stopping by!
ReplyDeleteWhat an improvement! I love the fabric choice and your tip about just using tacky glue. So gorgeous yet so simple to DIY! Found you through Dishing It & Digging It!
ReplyDeleteI know, right?! My daughter has some great taste! Thanks so much, Thea, for stopping by! I appreciate you taking the time to read my blog! :) Blessings to you!!
Delete